概要
仮想プログラミング環境をWindowsに構築する
目的
赤文字が本編内容
- 仮想環境をインストール
- 仮想OSをインストール
- ローカルアドレスを静的化
使用するもの
赤文字が本編内容
- Windowsマシーン
- Linuxディストリビューション
- 仮想プラットフォーム
1. 仮想環境をインストール
プログラミングを始めるにあたり、最初に用意するのは環境である。
XAMPPのようにwindwosへ直接インストールして仮想サーバーを構築する方法もある。決して悪くない方法だが、局所的な学習となってしまい応用が利かない可能性がある。
少し手間であるが仮想環境を構築しておき、好きな時に起動して学習するのが良いと思う。
又、仮想環境は”イメージ化”することで環境を移動したり共有化する事ができるの便利である。
閉じられた空間で構築するのでプライベートな環境へ干渉する事も少ないのもメリットとなる。
現在あげられる無償の仮想プラットフォームを提供してるのは以下となる。
| VM Ware | VMware Workstation Player | 個人使用は無償。商用利用する場合はライセンス契約が必要です。 |
| VirtualBox | Oracle VM VirtualBox | 個人使用は無償。商用利用はExtension Pack以外は無償。 |
現時点で無償であるため、今後課金が発生する可能性もある。
そんな時は別の無償仮想プラットフォームを探せばよい。
全体の流れを覚えてしまえば、あとは部品を変えればいくらでも代替はある。
・VirtualBoxインストール
早速”VirtualBox”をインストールしてみよう。
上記サイトよりインストールファイル”VirtualBox-6.1.14″をダウンロードして展開する。

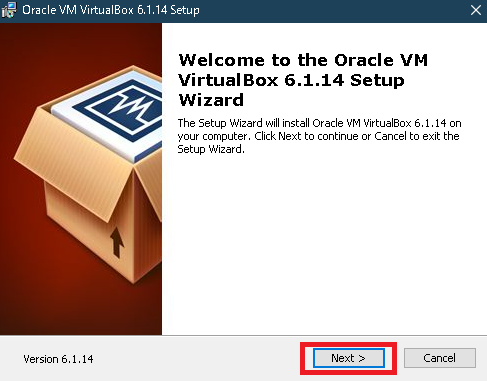
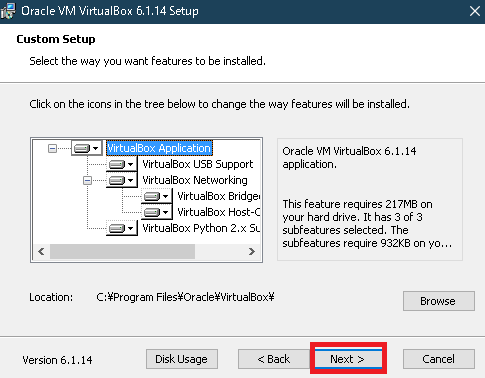
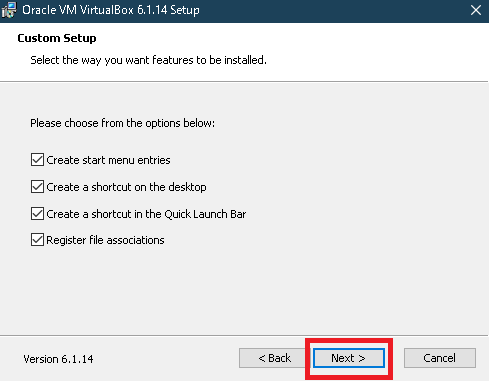
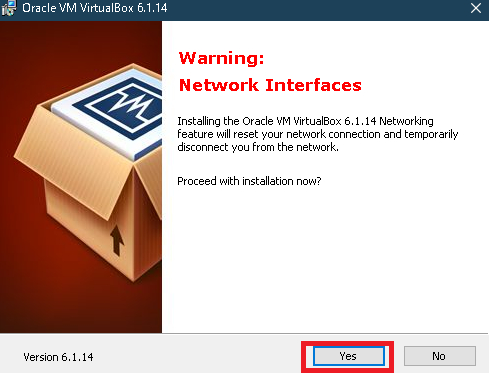
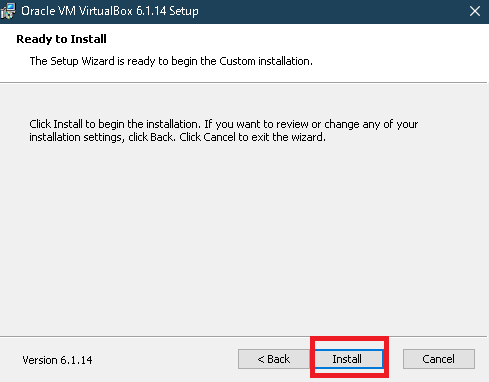
途中で何度か許可を求められるので全て”YES”でOKです。
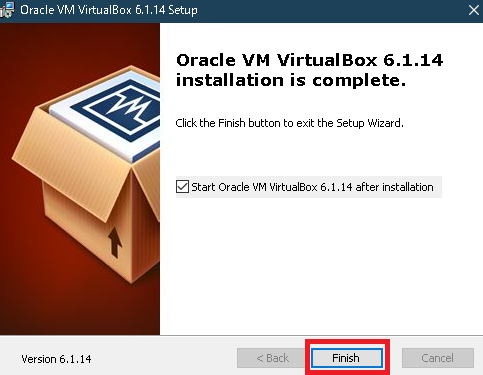
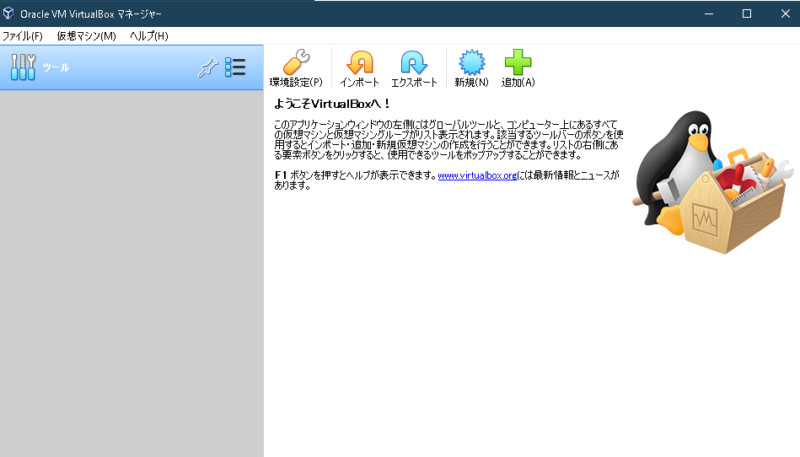
上記画面が表示されたら無事インストール完了です。
終わり
次回は仮想プラットフォームへLinuxをインストールしてみましょう。
お疲れ様でした。

